
Sections:
Group Tasks & Notes Within Projects
Use sections to organize tasks and notes into logical groups
Structure beats stream-of-consciousness.
PACHINKO-056 / HEADINGS.PNG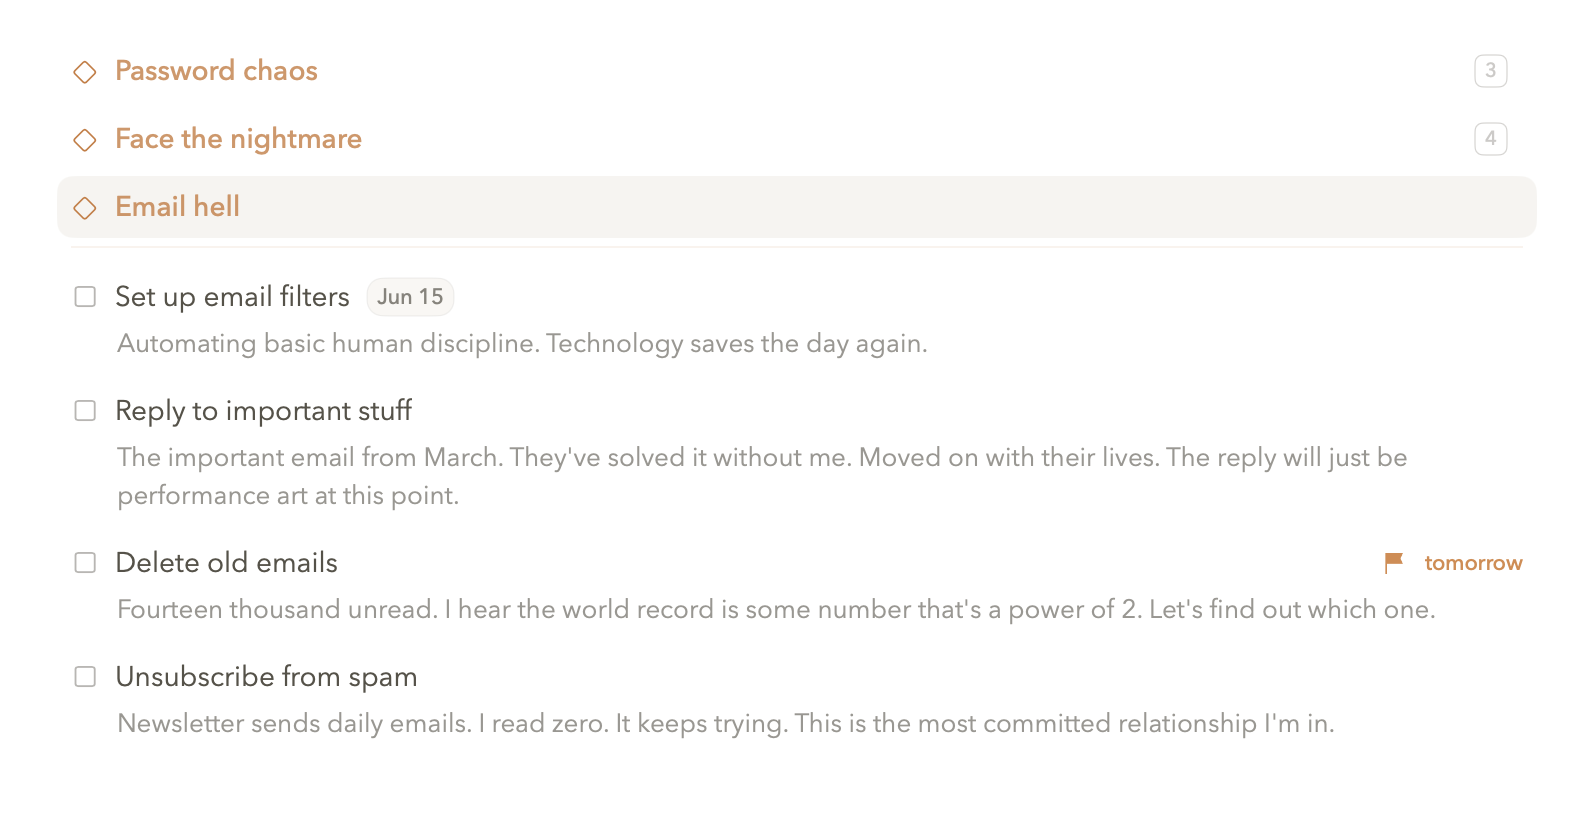
① Create sections with ⇧⌘N. ② Group related tasks into logical sections.
③ Drag tasks between sections to reorganize. ④ Use "Group Into Section" for bulk organizing from Inbox.
HOW SECTIONS WORK
Group Tasks & Notes Within Projects
Sections organize tasks and notes within a project. When you've got a project with 30 tasks, sections let you group them logically. ⇧⌘N creates a new section. Drag tasks between sections to reorganize.
Gary uses sections religiously: "Frontend", "Backend", "Assets", "Copy". I throw everything into one giant list and scroll endlessly looking for what I need. His projects are organized. Mine are adventures in scrolling.
BULK ORGANIZE
Group Into Section
Group Into Section lets you select multiple notes or tasks and organize them into a new section instantly. Available in Projects, Areas, and Inbox - select the items you want to group, choose "Group Into Section," give it a name, and all those items move into their new home. It's bulk organization without dragging things around one by one.
This is particularly powerful in your Inbox. You've clipped articles, saved notes, collected research. Select related items - all your marketing research, all your meeting notes from last week, all your product ideas - group them into a section, and you have organized collections ready to work with.
WHEN TO USE SECTIONS
Organization Over Chaos
Use sections when your project has more than 10-15 tasks or notes. Group by category (Frontend, Backend, Design), by topic (Competitors, Customers, Product), by role (Engineering, Marketing, Legal), or whatever makes sense for your work. Use statuses for tracking progress - sections are for organizing content.